
Upgrading your HVAC system doesn’t always mean ripping out old equipment. A smart thermostat is one of the fastest, most practical ways to cut energy bills and gain real control over your home’s temperature. Whether you’re looking for what is the best smart thermostat or hunting for the best smart thermostat for home automation, the 2025 market offers solid options at every price point. Most smart thermostats work with existing furnaces and air conditioners, no rewiring, no permits. You’ll save money on installation and see energy savings within the first heating or cooling season. This guide walks you through the top models, key features to compare, and what you need to know before buying.
Key Takeaways
- Smart thermostats typically reduce heating and cooling costs by 10–15% within the first season, with potential savings of 10–20% more if geofencing is enabled.
- The best smart thermostat for your needs balances budget, HVAC compatibility, and ecosystem integration—premium options like Ecobee and Nest range from $200–$300, while capable models like Wyze start under $100.
- Compatibility with your existing wiring and HVAC system is non-negotiable; confirm this before purchasing, and consider a $150–$300 professional installation for complex or older systems rather than risking costly miswiring.
- Voice control integration with Alexa, Google Home, or Apple HomeKit, combined with energy monitoring and real-time usage reports, enables smarter temperature decisions and automated routines that maximize efficiency.
- Most DIY installations take an hour or two—turn off power at the breaker, photograph existing wiring before disconnection, and carefully match wires to corresponding terminals on the new unit to ensure safe, reliable operation.
Why Upgrade To A Smart Thermostat In 2025
A smart thermostat learns your schedule, adjusts temperatures automatically, and lets you control heating or cooling from your phone, anywhere, anytime. That convenience translates directly to lower utility bills. Most homeowners see 10–15% savings on heating and cooling costs, which adds up fast over a year.
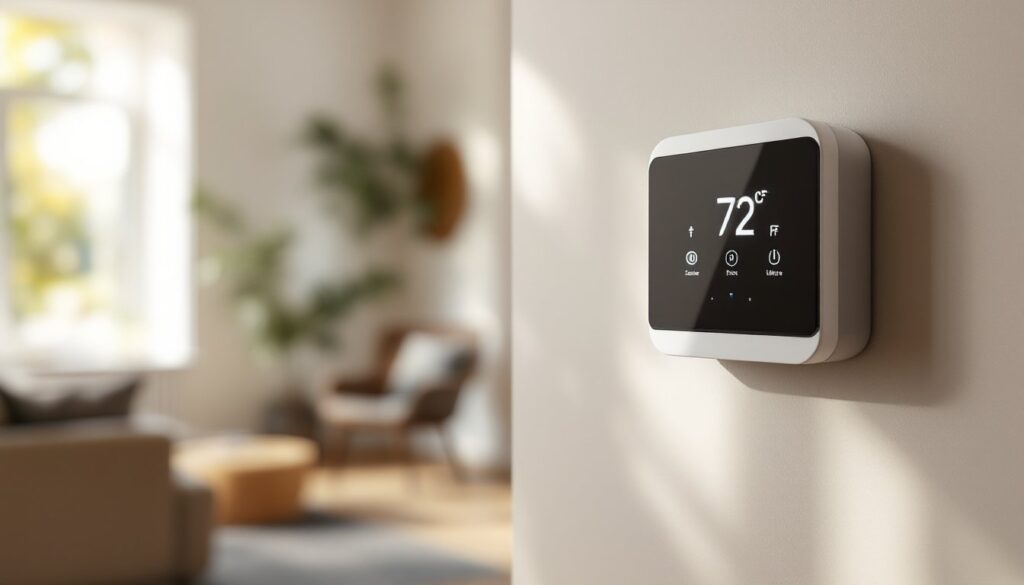
Beyond savings, smart thermostats integrate with voice assistants like Alexa and Google Home. Say “set the temperature to 72 degrees” and it’s done. They also send alerts if your system fails or if temperatures drop unexpectedly, which can prevent frozen pipes or heat loss in winter.
In 2025, compatibility matters more than ever. Nearly all new smart thermostats work with major HVAC brands and smart home ecosystems. Installation is straightforward for most DIYers, you’re swapping out the old thermostat and connecting a few wires. If your system is older or has uncommon wiring, a pro can handle it for a couple of hundred dollars, still cheaper than a full system replacement.
Energy monitoring is a key draw this year. Many models now show real-time energy usage, so you see exactly how much each temperature adjustment costs. That feedback helps you make smarter choices about heating and cooling habits.
Top Smart Thermostat Models For Every Budget
Premium Options For Advanced Features
High-end smart thermostats pack geofencing, precise humidity control, and multi-zone management. The Ecobee SmartThermostat with Voice Control is a standout for homes with multiple rooms or floors. It includes a remote sensor so you can monitor temperature in a bedroom or office, not just at the main thermostat. Geofencing detects when everyone leaves and adjusts temperature automatically, save the cost of heating an empty house.
The Nest Learning Thermostat remains popular because it’s genuinely intuitive. It learns your schedule after a week of use and optimizes heating and cooling without you touching it. Integration with Google’s ecosystem is seamless, and the display is crisp and easy to read from across the room.
Honeywell Home T9 is excellent for households that want serious control. It pairs with multiple room sensors, so you can prioritize heating or cooling certain zones. The app is responsive, and it plays nicely with HomeKit, Alexa, and Google Home, no lock-in to one ecosystem.
These models typically cost $200–$300 and justify the premium with features you’ll actually use.
Budget-Friendly Picks Without Compromising Quality
You don’t need to spend $300 for a capable smart thermostat. The Wyze Thermostat delivers solid performance at under $100. It learns your schedule, supports multi-zone setups with add-on sensors, and works with Alexa, Google Home, and Apple HomeKit. The trade-off: the display is smaller and less flashy, and customer support is leaner.
Emerson Sensi is another value pick around $120–$150. It’s compatible with almost every HVAC system, install is straightforward, and the app is clean and straightforward. You get geofencing, scheduling, and energy reports without extra bells and whistles.
The Ecobee SmartThermostat (non-voice version) sits at $170–$200 and includes one room sensor. You lose the built-in Alexa speaker but keep geofencing, precise scheduling, and a clean interface.
For renters or temporary setups, the Emerson Hive Mini (around $100) is portable and doesn’t require permanent installation, though it won’t work with every HVAC system. Always check compatibility with your existing setup before purchasing.
Key Features To Compare Before You Buy
Compatibility is non-negotiable. Check your current thermostat’s wiring (usually 2–6 wires: common, heat, cool, fan, etc.). Most smart thermostats work with standard systems, but old oil furnaces, certain heat pumps, and multi-stage systems may need a workaround or professional installation. The product manual or the manufacturer’s website will confirm compatibility before you buy.
Temperature scheduling and geofencing let the thermostat save energy when no one’s home. Geofencing uses your phone’s location to detect when the last person leaves and when the first arrives. If you work unpredictable hours or travel, this alone can cut 10–20% off heating or cooling costs.
Integration with your smart home ecosystem matters if you’re already invested in Alexa, Google Home, or Apple HomeKit. Some thermostats work with all three, while others favor one platform. Check before committing, you want voice control and automation routines to work smoothly.
Energy reports and insights help you understand usage patterns. Better models show you daily or hourly consumption and make suggestions to lower costs. This real-time feedback can motivate efficiency improvements.
Room sensors and multi-zone capability are valuable if your home has hot or cold spots. A main thermostat in one location might miss temperature swings in a bedroom or finished basement. Sensors let you balance comfort across zones without running two separate systems.
Display quality and responsiveness affect daily usability. A small, dim screen is frustrating if you want to make quick adjustments. Test the interface if possible, or read user reviews focused on real-world use.
Compare models on sites like Tom’s Guide, which test and rank top smart thermostats in controlled conditions. Look for models with strong user ratings and clear compatibility information.
Installation Tips For DIY Homeowners
Turn off power at the breaker before touching any wires. This is non-negotiable for safety. Locate the circuit controlling your HVAC system, flip it off, and confirm the old thermostat is dead by trying to power it on.
Take a photo of your old thermostat’s wiring before disconnecting anything. Snap a clear picture showing which wire connects to each terminal (usually labeled W, Y, G, C, O/B, R, etc.). This is your road map for the new unit.
Carefully disconnect one wire at a time and label it with tape or a marker. Use a small terminal screwdriver or a wire insertion tool (often included in the smart thermostat box) to release the connection. Don’t force, patience saves you from damaging the wire or connector.
Mount the new thermostat at the same location if possible. Wires are pre-run, and moving the unit means fishing new cables through walls, a bigger project. Make sure the location is away from direct sunlight, heating vents, or drafts, which skew temperature readings.
Connect wires to the corresponding terminals on the new unit. Most smart thermostats use clear diagrams or an app-based setup wizard to guide you. Double-check each connection before powering on.
If wiring doesn’t match or your system has unusual terminals (like a C-wire for 24V power), consult the thermostat’s installation guide or call the manufacturer’s support line. Some older furnaces lack a C-wire (common or ground wire), in which case certain thermostats require a power extender kit, about $30 and a 20-minute install.
Restore power and test. Flip the breaker back on, verify the thermostat powers up, and run a short heating or cooling cycle to confirm the HVAC system responds. Modern smart thermostats guide you through calibration via the app, so follow those prompts.
For homes with complex systems, tandem thermostats, or unconventional wiring, hire a licensed HVAC technician. Cost is usually $150–$300 for installation, a worthwhile investment if it prevents damage or miswiring. Consider this part of your project budget from the start. Many installers offer smart home tech guidance to help you choose the best fit for your setup.
Conclusion
The best smart thermostat for your home depends on your budget, HVAC system, and comfort priorities. Premium models like Ecobee and Nest offer learning algorithms and multi-zone control, while budget-friendly options like Wyze deliver solid scheduling and geofencing at a fraction of the cost. Confirm compatibility, understand wiring, and take your time with installation, most DIYers can handle it without professional help. By 2025, a smart thermostat is one of the quickest, most reliable ways to cut energy costs and gain peace of mind over home comfort. Choose one that fits your ecosystem and habits, install it carefully, and you’ll see savings within the first month.